RTL and Bladerf
In this guide you will learn how to install BladeRF with SDR# or SDRSharp support on Window 10 and Linux.
The FPGA is loaded onto BladeRF from SDR# and the GSM900 band is browsed using two quad band duck antennas.
Keep in mind that the antennas used here are not that on the same level as the default RTL-SDR antenna.
This means that the received signal strength is bad depending on where the BladeRF is placed, how the RX antenna is angled and how close it is to a window.
The tools used in this guide include:
• BladeRF (http://nuand.com/) • SDR# (http://airspy.com/download/) • Libraries for SDR# (https://github.com/jmichelp/sdrsharp-bladerf)
In digital circuit design, register-transfer level of RTL is a design abstraction which models a synchronous digital circuit in terms of the flow of digital signals or data between a hardware register and the logical operation which is performed by those signals.
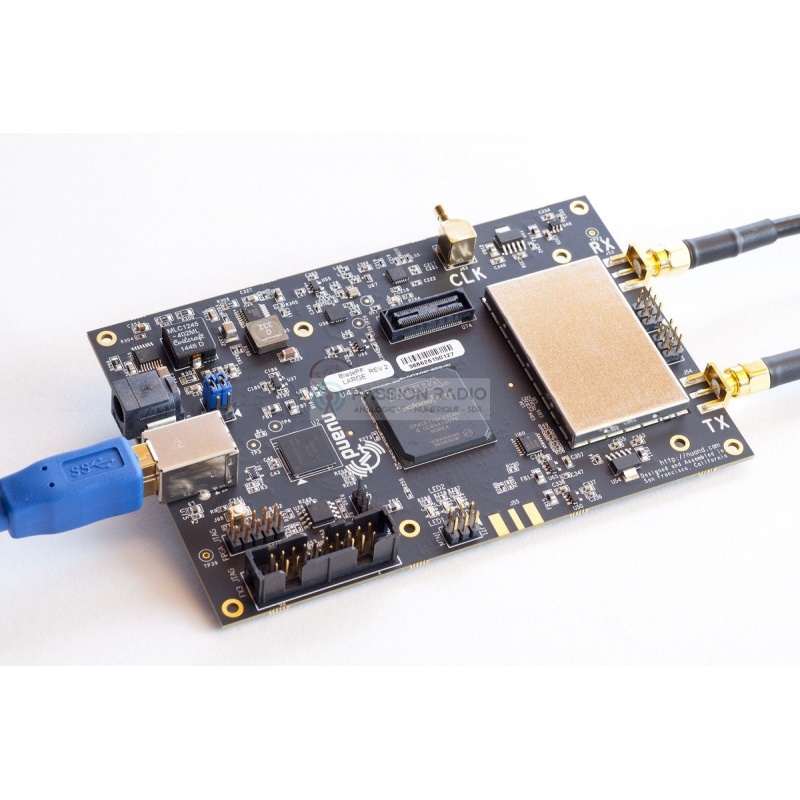
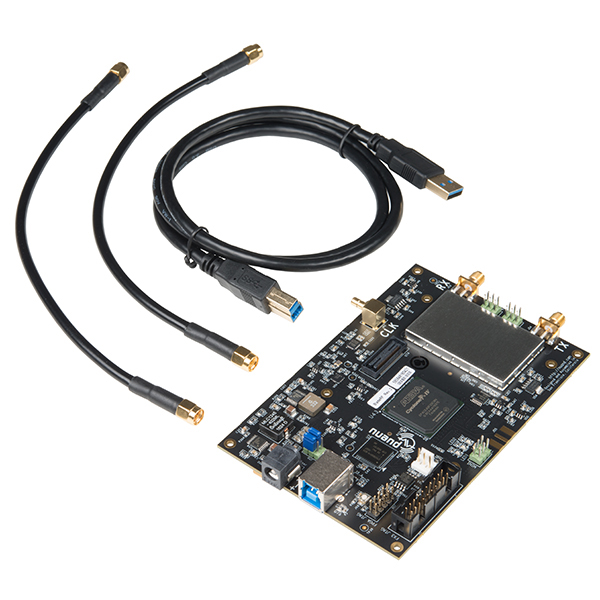
Furthermore, bladeRF is a Software Defined Radio or SDR platform which is designed to enable a community of hobbyists and professionals to explore and experiment with multidisciplinary facets or RF communication. Through providing a source code, and through a lot of documentation and easy to understand tutorials, and through RF, analog and digital sofwtware design, it can run firmware on the ARM MCU, the FPGA and Linux Kernel device drivers.
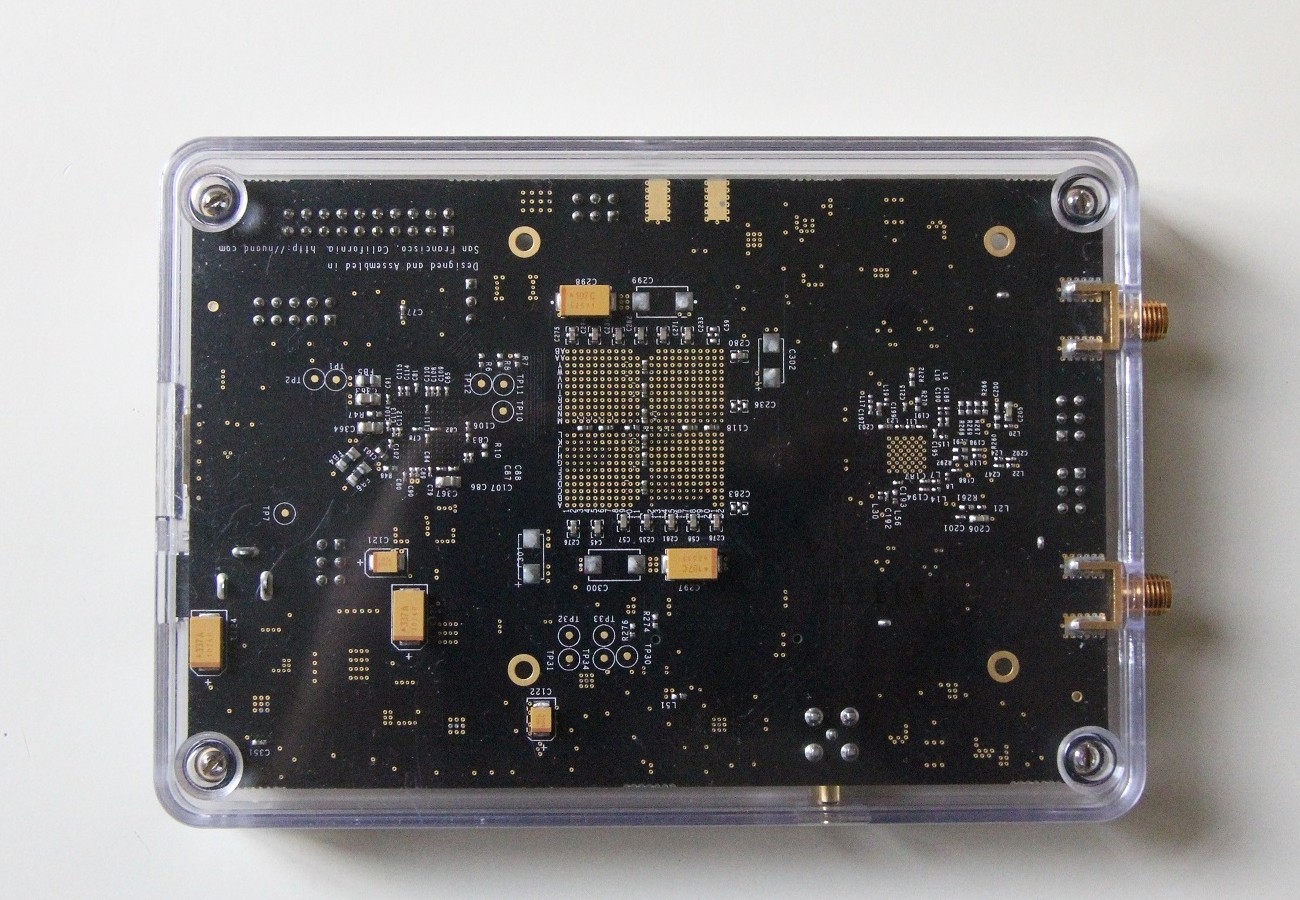
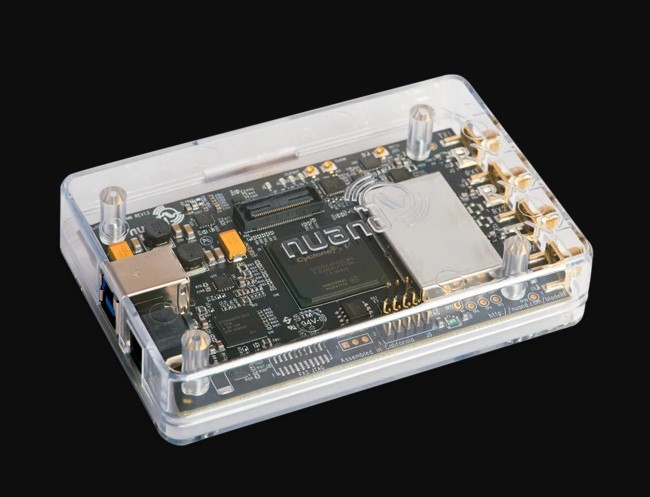
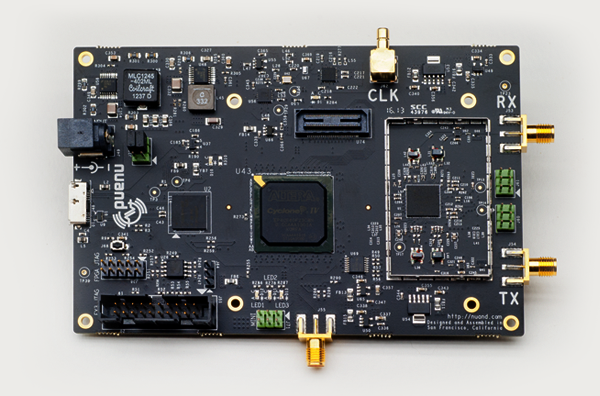
It is powerful and portable, and it offers a full solution in a single package. bladeRF can tune from 300MHz to 3.8GHz without the need for any extra boards and the current open source drivers have support for GNURadio along with other things, which allow bladeRF to be placed into immediate use and gives it the flexibility to act as a custom RF modem.
This means that you have total control, as it is highly customizable and reprogrammable. Along with the source code, the USB 3.0 Cypress FX3 microcontroller firmware is available to modify, as the ALtera Cyclone IV FPGA VHDL, which brings you as a developer closer to a RF transceiver.
The functionality and openness of the bladeRF has the goal of encouraging people to use the platform as more than just a RF transceiver. It can also act as an accelerator of any type form turbo decoding to video transcoding. The bladeRF can be adapted for use in custom embedded projects due to its low power needs and the flexibility offered by the FPGA, FX3 and expansion port.
The Windows Guide
Keep in mind that the software can be installed both on a Windows operating system and a Linux operating system. First we will go over installing everything on the Windows operating system, and then we will go over installing it on a Linux operating system.
On a windows device, install it by simply downloading the windows executable file.
This should be the latest version.
Once it is successfully installed, you can use sdrsharp-bladerf.
To install it on windows, you need to copy the Release\SDRSharp.BladeRF.dll into SDR# installation directory, after which you can copy all of the DLL files from LibBladeRF subdirectory to SDR# installation directory if required, keep in mind that you might also need the FPGA bitstreams which can be found on the main website as-well.
Move all of the files to the main RTLSDR directory and if prompted, make sure to replace all of the files in the destination, and add the following line in the frontendPlugins sections of FrontEnds.xml file:
•
Launch SDR# and you are good to go.
If you need to update anything of SDR#, you will need to re-do all of the steps.
Launch SDRSharp.exe

Make sure that the “Source RTL-SDR” is “BladeRF” on the left side.

Click on Configure Source.

Here you will select the device and click ok.
Keep in mind that you might need to use the zadig.exe program when you try to use bladeRF.
If by any chance it is not detected as bladeRF, you just need to install the WinUSB driver and you are good to go.
Now, back to SDRSharp.exe.
On the device settings screen, select BladeRF (libsub) SN#e255..f9e9(1.31)

On Sampling mode, select RX/TX SMA.

On sample rate use 37 MSPS as the standard.

Bandwidth should be at auto.

Load the FPGA file by clicking on browse on the lower right side of the menu.

Select hostedx40-latest.rbf you previously copied in the directory.

If you do not have any FPA loaded you cannot use it, so you need to either flash it permanently or load it each individual time you run it.

Click Close and Click on play.
Once you scroll to 950 MHz it should be picking the signal up.
If you are having any issues, you can play with the LNA Gain, the RxVGA1 Gain and the RxVGA2 Gain to get better results.
LNA Gain should be used first, as that is the lower noise amplifier.
That will add less noise when you amplify the receiving signal.
The other two settings will add a lot more noise to the signal, and depending on the antenna, you might not be able to get much more out of the process.
You can also adjust the contrast and the range to get even better results, this is highly case-dependent however.
Keep in mind that if you overamplify the signal, it might lead to weird noises, so it’s a good practice to turn down the amplification and work with the main signal.
You can also zoom into the signal and take a look at the downstream signal to gain a better understanding of what exactly is happening.
The Linux Guide
When it comes to using SDR# on Linux, you need to install a version of Mono that supports .Net framework 4.6.
The setup has currently been tested while using Mono 4.4.0.40 and it works.
After that is configured, you need to copy the Release/SDRSharp.BladeRF.dll into SDR# installation directory.
After that, install the Symlink required libraries in the SDR# installation directory by entering the following commands:
•	$ ln -s /usr/lib/libportaudio.so.2 libportaudio.so
•	$ ln -s /usr/local/lib/libbladeRF.so .


Next, make sure to add the following line in the frontendPlugins sections of FrontEnds.xml file:3

<add key="BladeRF" value="SDRSharp.BladeRF.BladeRFIO,SDRSharp.BladeRF" />
Finally, launch SDR#.
If your samples start behaving unexpectedly within SDR#, you can solve this by using a compatible libusb-1.0.dll.
This is specifically the case when you frequently upgrade SDR#, and it will end up -reinstalling the RTL-SDR driver which initially embeds an old version of this DLL also known as v.1.0.14.
The version which is provided under the LibBladeRF directory of this repository which is currently on v1.0.19 is known to work correctly in both RTL-SDR dongles and BladeRF, so it is safe and recommended to replace it.
If you want to compile the DDL, you need to copy these two DLL files from the SDR# installation directory to Release and Debug Directories:
•	SDRSharp.Radio.dll
•	SDRSharp.Common.dll

Compiling under Linux is possible while using Mono 4.4.0.40+.
If you receive a warning, worry not, it will work fine.
Mono xbuild compiles things differently so you need to copy the two DLL files mentioned above in the building directory expected by Mono xbuild for the compilation to be successful.
And there you have it, you have successfully installed BladeRF with SDR# or SDRSharp support on Window 10 and Linux.
Good luck with all of your projects ad we wish you the best.
References
- YouTube https://www.crazydanishhacker.com/bladerf-sdr-windows-10-software-defined-radio-series-17/](https://www.crazydanishhacker.com/bladerf-sdr-windows-10-software-defined-radio-series-17/
- GitHub https://github.com/Nuand/bladeRF/wiki

 How to Design and Publish Electronic Boards – Everything You Need to Know